To set up your domain e-mail account on your iPhone default mail app (IOS 14.4 onwards), please follow the steps below.
Make sure you know your domain email address AND password before you begin, to avoid any connectivity problems.
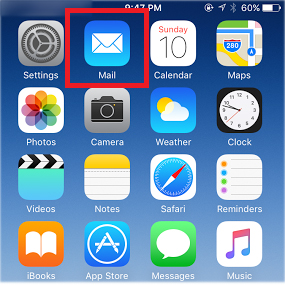
You will be using the default mail app (blue icon) to send and receive your mail. Click settings gearwheel to start…
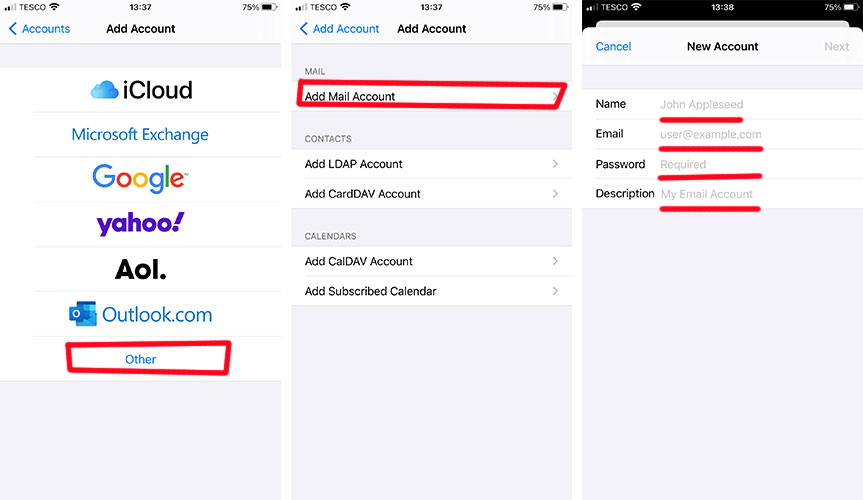
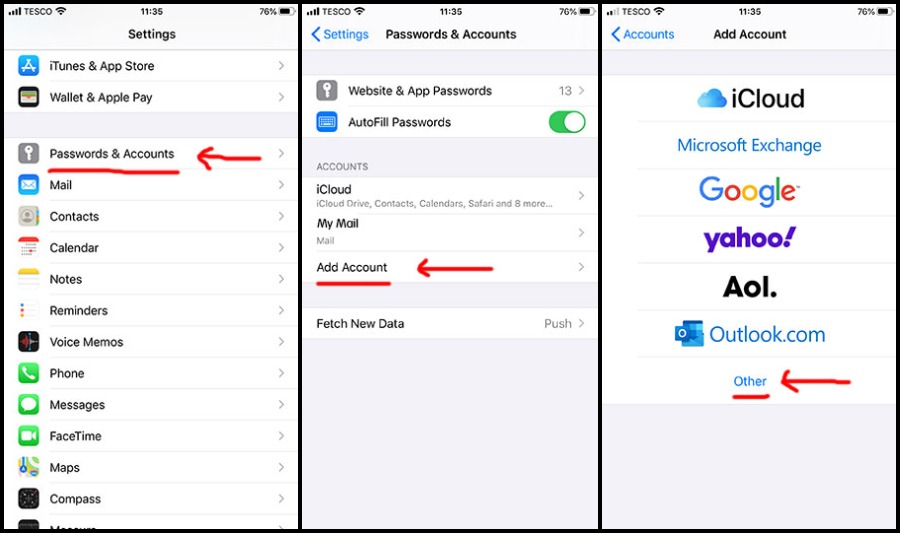
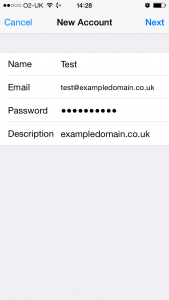
- Click Mail icon > Accounts. > Add Account > Other > Add Mail Account > New Account (fill in 4 fields with your details)
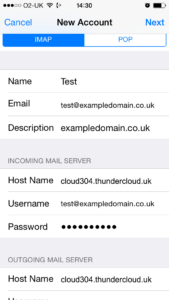
2. New Account details – LEAVE THE TOP TOGGLE ON IMAP! Incoming Mail Server – fill in the hostname: yourdomain.co.uk then username (which is your full email address)
Outgoing Mail Server – hostname: yourdomain.co.uk your username and password (it is NOT optional) > NEXT
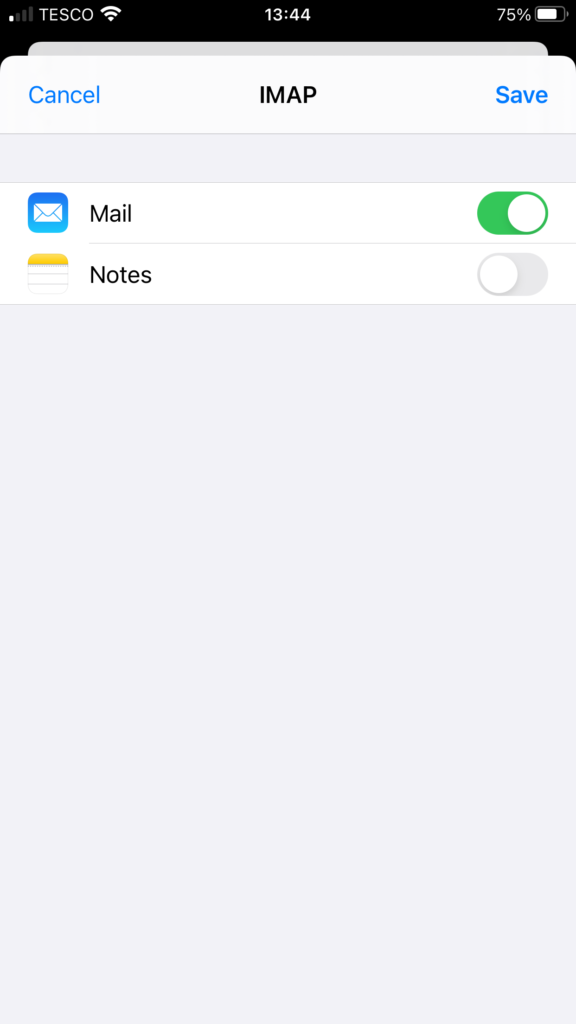
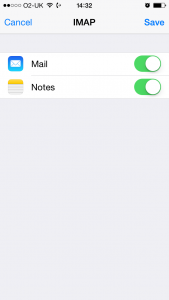
3. make sure the mail toggle is enabled (green) > SAVE
4. Your email account is now ready. Press your home button, find your blue mail app icon and move somewhere convenient. Tap on it to open your mail.
Final step, make sure sent emails are stored on both your iPhone AND the server
By default, iPhone selects not to store sent items on the server. I have personally not encountered this but, it is always best to check to make sure any domain emails sent using your iphone are later available to view both on your iphone and on the server to avoid any confusion, plus, if you ever lose your phone or access to it and need to access your email account via webmail, you will find everything there, fully synced.
Checking/Adding the functionality for these items to be stored on both the iPhone and the server is rather simple.
- On the iPhone.
- Click settings.
- Click mail, contact, calendars.
- Select the mail account you want to change.
- Click on account info.
- Scroll down to advanced.
- You will now see a screen that says “Advanced”. In this screen is a section called “Mailbox Behaviours”.
- Click on sent – mailbox button.
- This will now display two sections. “On My iPhone” and “On the server”.
- In the section “on the server” should be a list of all your mailboxes.
- Scroll down to sent items on the mail server and select sent items.
- When you send an email from your iPhone, a copy will be passed to your mail server.
- Your iPhone is now configured to record sent mail both on the device and server.
To set up your domain e-mail account on your iPhone default mail app (IOS 13.5 onwards), please follow the steps below.
Make sure you know your domain email address AND password before you begin, to avoid any connectivity problems.
You will be using the default mail app (blue icon) to send and receive your mail. Click settings gearwheel to start…
2. Add Mail Account > Complete your details in the 4 fields as marked in red (with your details) > click Next (blue link top right) >
Complete ALL fields marked in red replacing you@yourdomain.co.uk with your own email address & password (type out in full) > Click Next (blue link top right).
3. Your phone will now sync with the server > click SAVE to complete. Now click home & tap the blue mail app icon to open your email account.
Send an email to another account you own and send it back again to make sure you are receiving incoming mail and they are outgoing.
Final step, make sure sent emails are stored on both your iPhone AND the server
By default, iPhone selects not to store sent items on the server. I have personally not encountered this but, it is always best to check to make sure any domain emails sent using your iphone are later available to view both on your iphone and on the server to avoid any confusion, plus, if you ever lose your phone or access to it and need to access your email account via webmail, you will find everything there, fully synced.
Checking/Adding the functionality for these items to be stored on both the iPhone and the server is rather simple.
- On the iPhone.
- Click settings.
- Click mail, contact, calendars.
- Select the mail account you want to change.
- Click on account info.
- Scroll down to advanced.
- You will now see a screen that says “Advanced”. In this screen is a section called “Mailbox Behaviours”.
- Click on sent – mailbox button.
- This will now display two sections. “On My iPhone” and “On the server”.
- In the section “on the server” should be a list of all your mailboxes.
- Scroll down to sent items on the mail server and select sent items.
- When you send an email from your iPhone, a copy will be passed to your mail server.
- Your iPhone is now configured to record sent mail both on the device and server.
- Go to Settings > Mail > Accounts > tap on mail account affected
- Make sure the mail toggle by the blue envelope icon is on and showing green
- Tap on the account name above the toggle
Click on SMTP.
Make sure the the primary server is ON> , click on it and make sure the ‘Use SSL’ toggle is switched on (it will be green if so)
Authentication – make sure this is set to ‘password’
server port 587
If the primary server is not the same as the one you have in your outgoing mail server settings, you need to add it…
Under PRIMARY SERVER there is another option OTHER SMTP SERVERS
Click Add Server (if there is nothing there) or edit the one there. Fill in the host name, username (full email address) and password (not optional you must fill it in correctly) and click save – it will verify.
**************************
Previous versions of IOS, please follow the steps below:
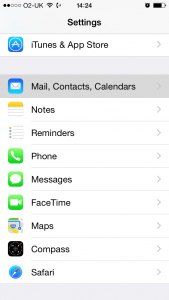
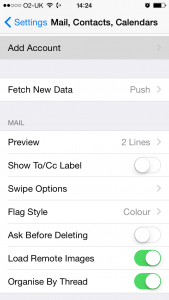
1) Go to Settings > Mail, Contacts, Calendars > Add Account.
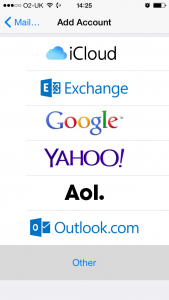
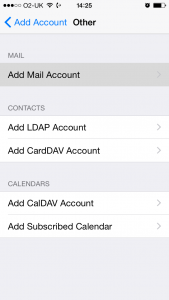
2) Click ‘Other’ and then ‘Add Mail Account’.
3) Fill in the details with the e-mail address and password for the account you wish to set up. Make sure all fields are typed out in full even those marked optional.
4) IMAP is the default choice. Make sure all fields are typed out in full even those marked optional. The Incoming and Outgoing mail server hostname is: cloud304.thundercloud.uk and overtype the password field with your password. Click Next to proceed & Save to complete.
5) You have now set up your domain email account on your iPhone!


